

Tile Tips
Tile Tips

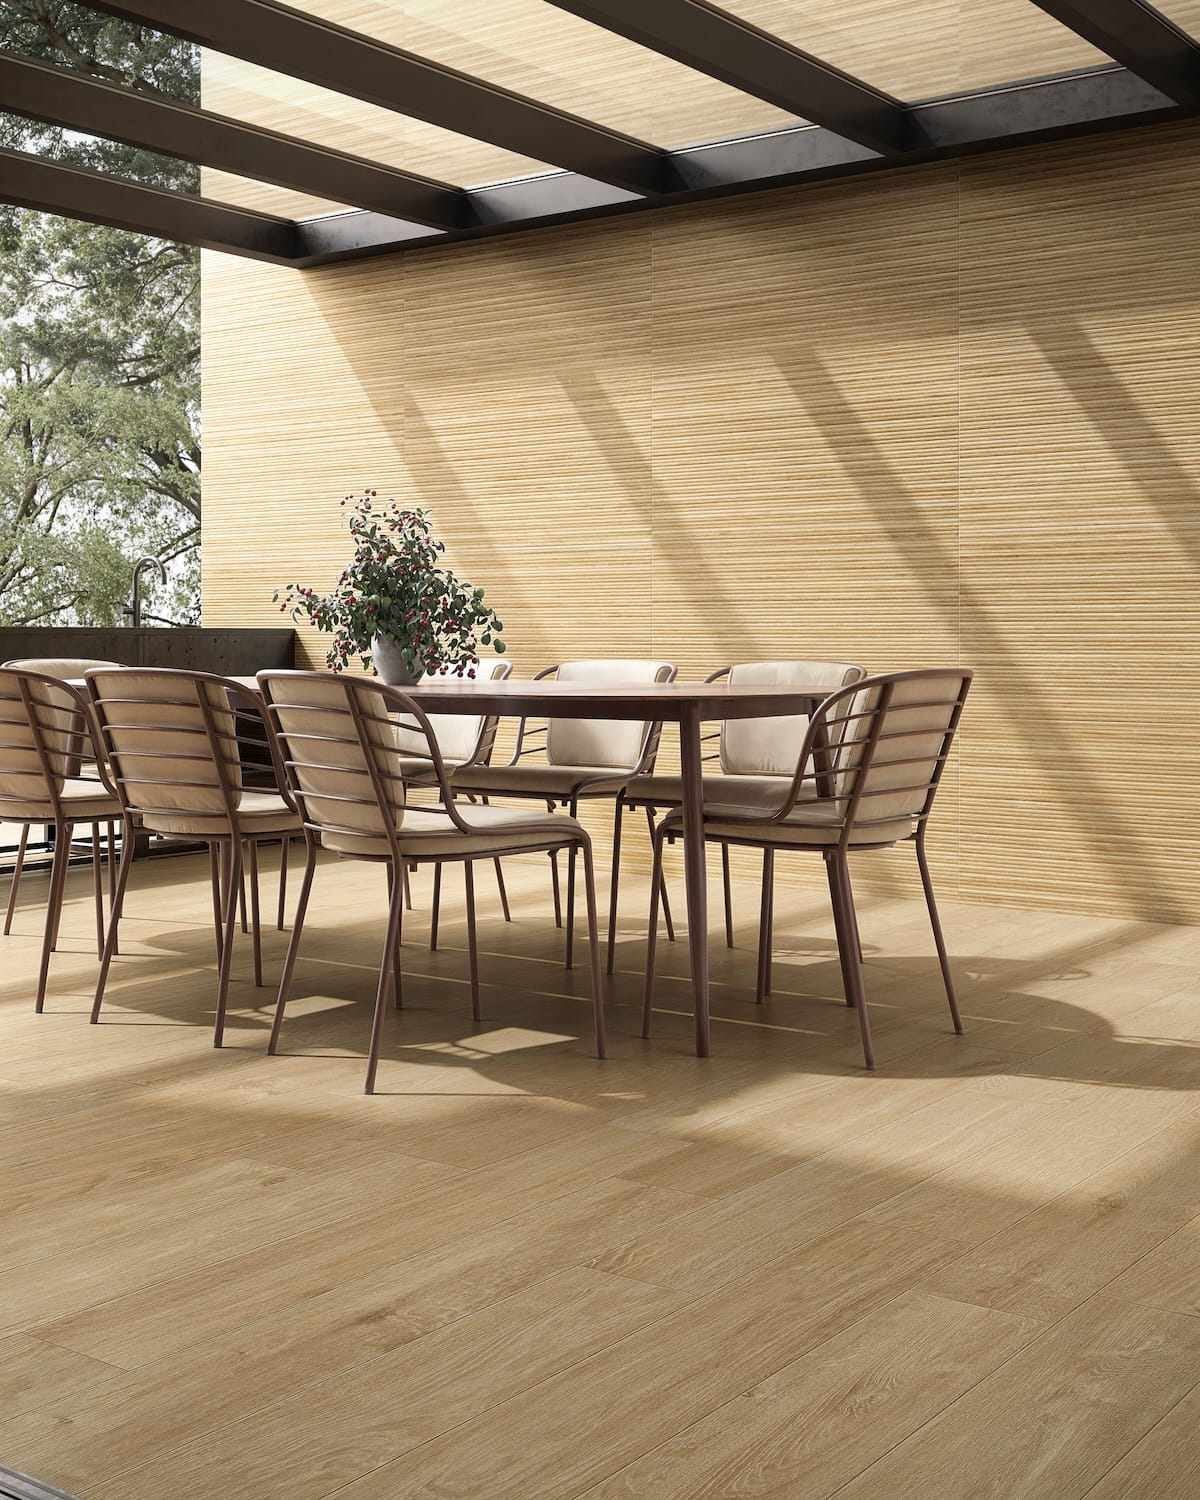
TILE TIPS TO KEEP YOUR TILE & STONE BEAUTIFUL FOR YEARS TO COME

PORCELAIN TILE – CLEANING
Most glazed porcelain tiles require a regular cleaning schedule with an acid free detergent, soft cloth or mop and clean water. Frequent changing of the water will prevent dirty mop water build up in textured areas of the glaze and the grout lines. We recommend cleaning Porcelain Tile with MORE Stone & Tile Cleaner, available in our showrooms.

CERAMIC TILE – CLEANING
Most glazed ceramic wall tiles do not require sealing. However, crackled (or crazed) ceramics should be treated with a penetrating sealer prior to grouting to prevent staining. Regular cleaning with gentle soap that contains no acids and a soft cloth is recommended for Ceramic Tiles. Avoid the use of cleaners that contain phosphoric or glycolic acids.

NATURAL STONE TILE – CLEANING
To protect stone floors, walls and counters, we recommend using a penetrating sealer prior to grouting. Care must be taken to avoid cleaning natural stone tiles with harsh or abrasive cleaners, especially those that contain phosphoric or glycolic acids. Be aware that acidic materials such as vinegar and lemon juice can etch some stone surfaces such as limestone. Occasional deep cleaning may be required to restore and maintain your Stone Tile original finish.

INSTALLATION TIPS – TILE
Rectified versus Pressed, which is for me? This depends on how close you would like your grout joint and how modern a look you would like. A rectified tile means that it is saw cut on all four edges, and allows for a tighter grout joint. We recommend at least a 2mm grout joint for all rectified tiles, and most factories recommend you stagger your rectified tiles at the 1/3rd point of each tile if setting rectangular tiles.
INSTALLATION TIPS – STONE
Natural stone varies from piece to piece. Differences in color, veining, mineral deposits, shade, texture and surface movement are inherent characteristics of natural stone. Be sure to check all pieces prior to setting and we recommend using a good quality penetrating sealer prior to setting. During installation, be sure to mix your tiles randomly to achieve a more natural varied appearance.
WE ARE HERE TO HELP
Do you have questions about your Tile installation project? Whether you’re installing Ceramic Tile in your bathroom or Porcelain Tile in your kitchen, our staff is here to assist with any question or concern you have. With years and years of knowledge, our showroom personnel can help you avoid any potential issues and achieve the tile installation that will last for many years to come.
CLEANING YOUR KITCHEN TILE QUICKLY
An easy, hassle-free way to clean your kitchen tile is gathering three ingredients that you may even have at home already. The three ingredients are hydrogen peroxide, dish soap, and baking soda. Start by mixing a cup of baking soda with half a cup of hydrogen peroxide. Then add two teaspoons of dish soap and mix well. Use a small spoon to spread the cleaning solution you made into the grout around your kitchen and let it sit for ten minutes. After that, you can use a brush to scrub your kitchen tile! Cleaning brushes work best because they are bigger and you can cover more surface area, but a toothbrush would work too. Let the solution dry and then sweep or vacuum up what is left on the kitchen tile. To finish off the process take a damp rag or a mop and wipe your kitchen tile clean. Of course if need a solution for heavier cleaning, we are happy to help with MORE Surface Care cleaners – available in our showrooms!